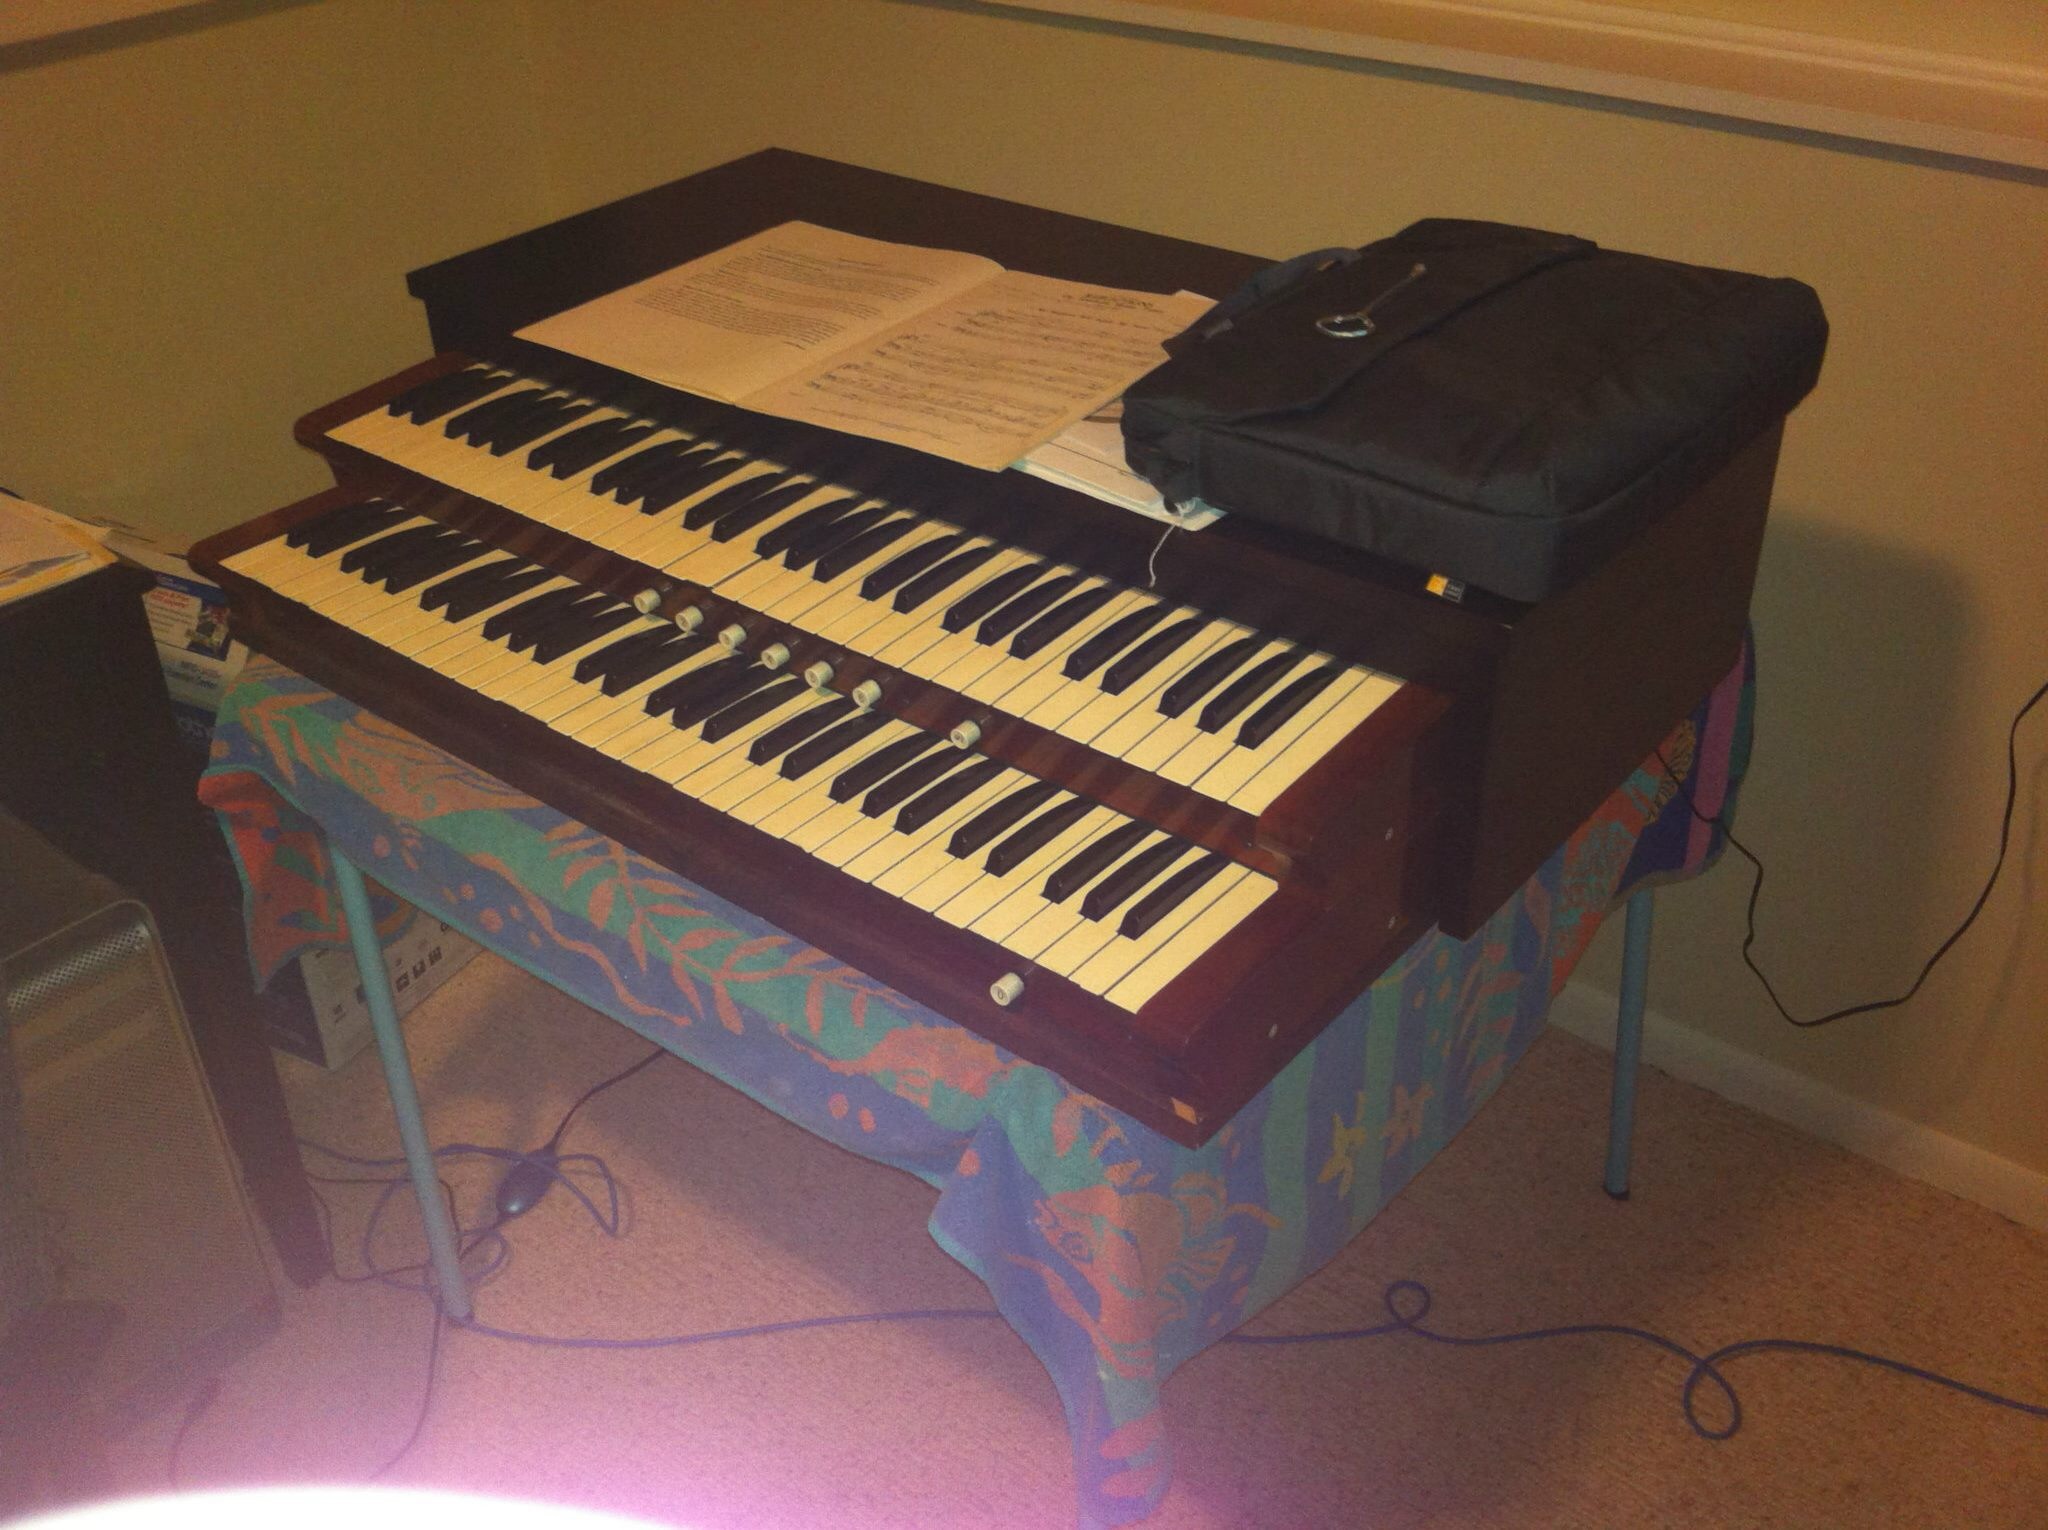
Back in 2013, I saw a post on the Hauptwerk Forum about these keyboards, which the owner wanted to get rid of. They were already wired for MIDI, so the hard work was done. After corresponding with him, I made a quick trip down to Iowa to pick them up. Once home, they temporarily found a home on this card table (not the best solution!)
It wasn’t too long before I decided a console was in order – something a bit more functional than the card table. I made a trip to my local Menard’s to find suitable supplies….
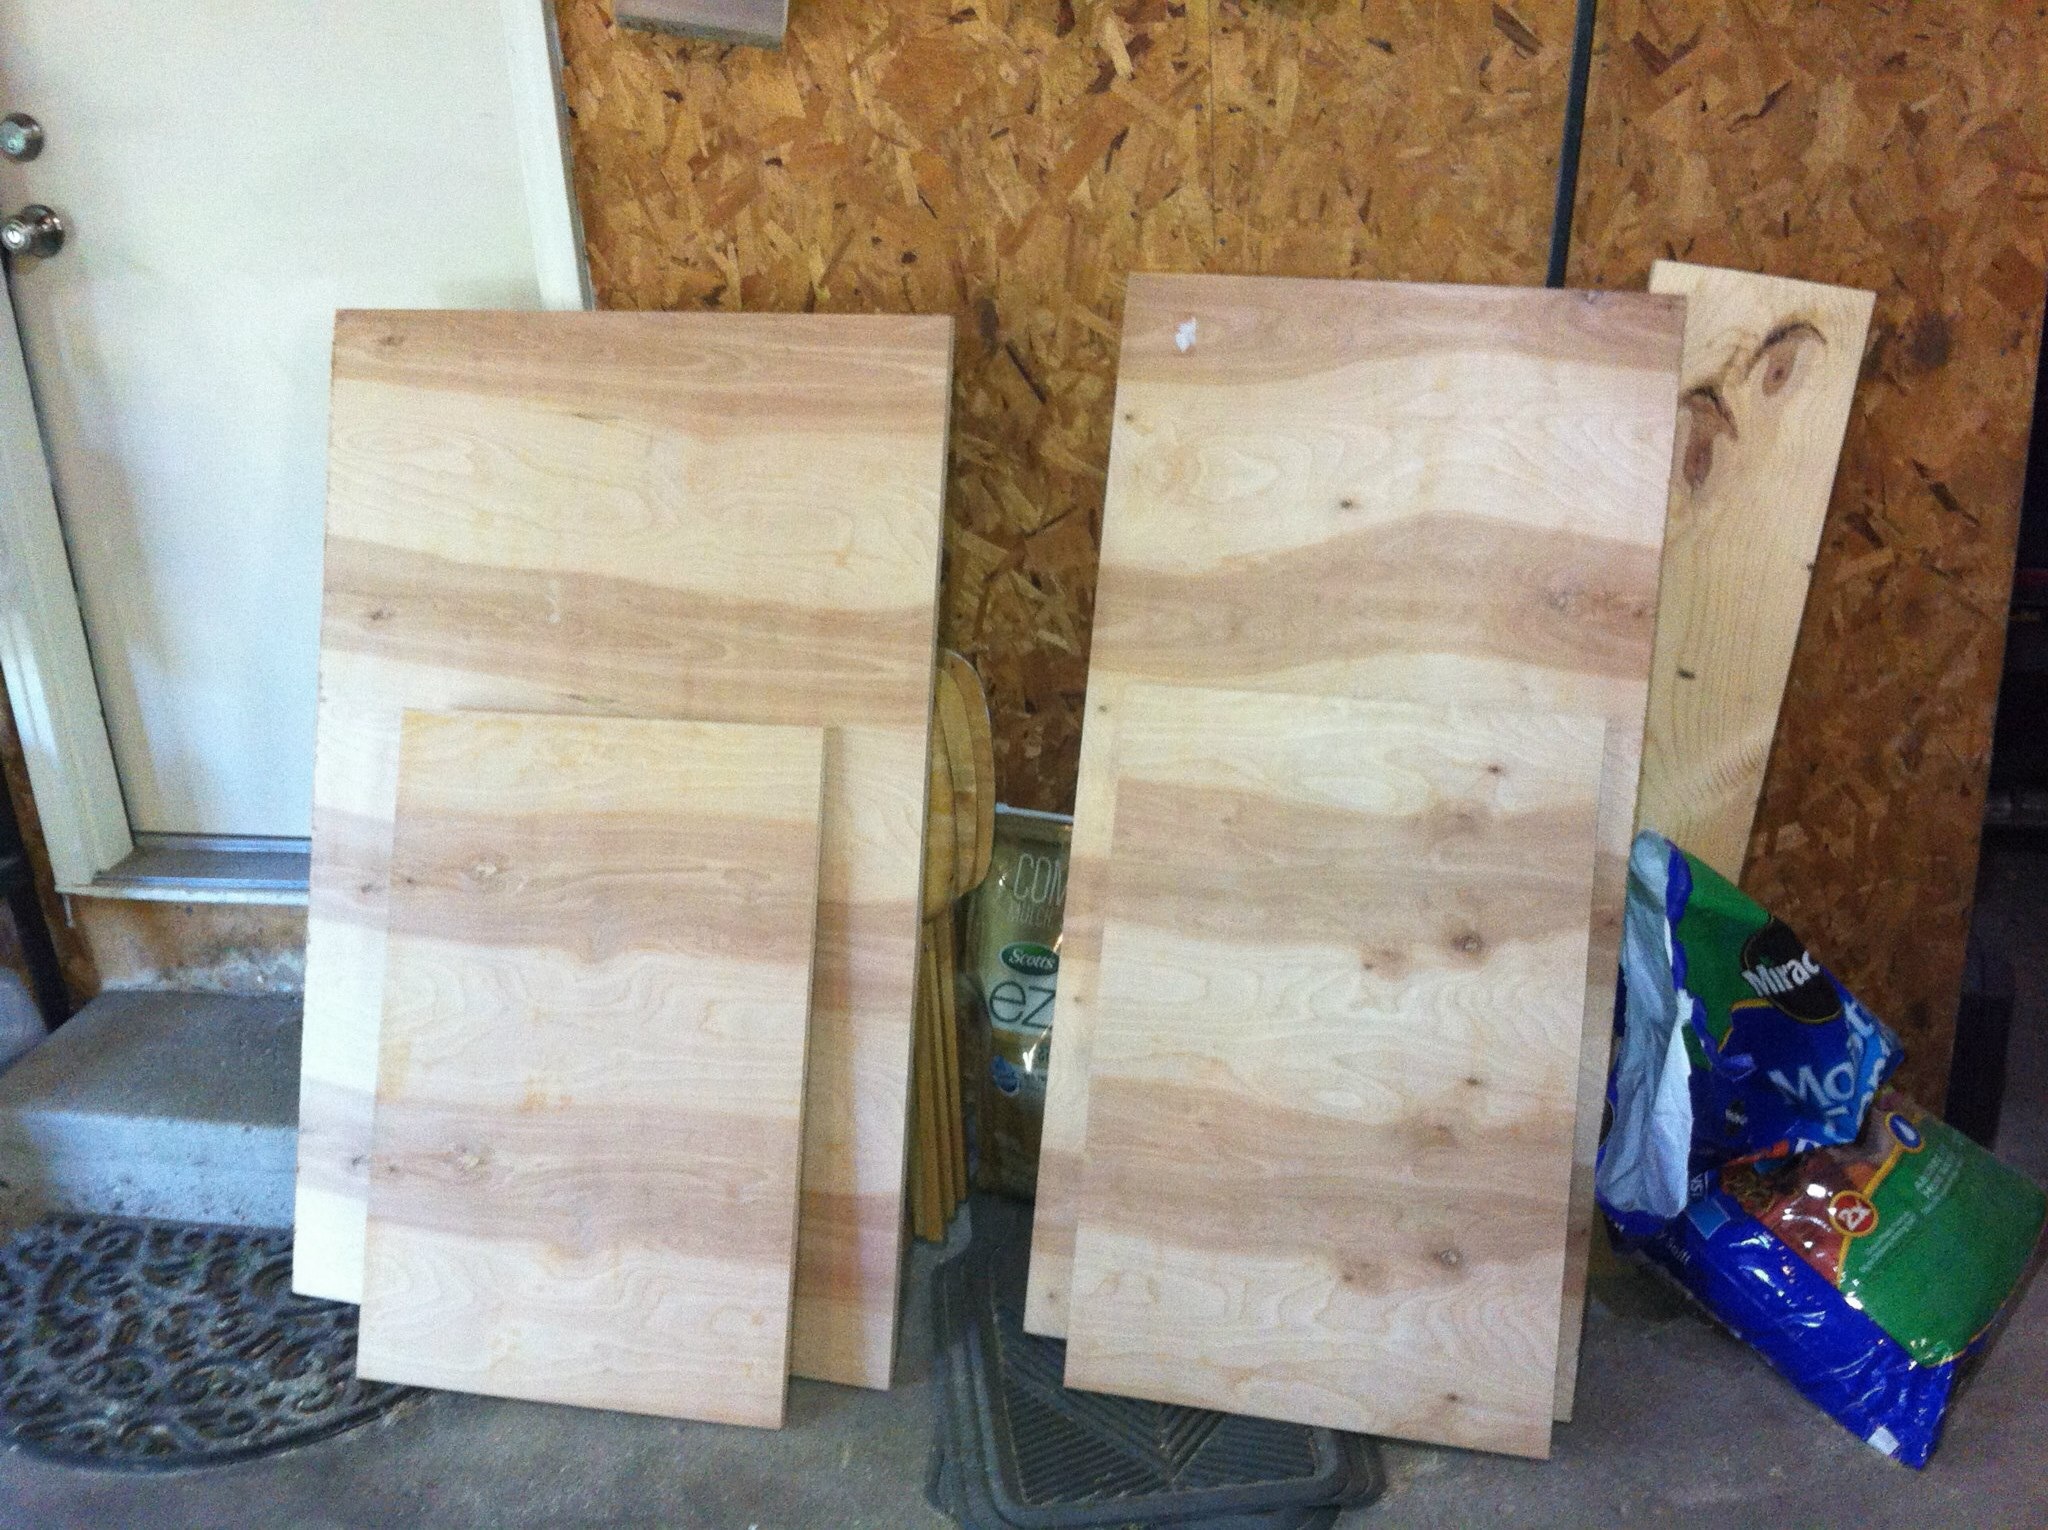
 I drew up some plans to the measurements I had, and decided on the best way to cut up the 4′ x 8′ sheet with the least waste. Here is the birch plywood laid out on the floor in preparation for cutting. After a little head-scratching, I realized it was much easier (and safer) to simply make a rip fence out of a good straightedge rather than try to rip such a large sheet by myself!
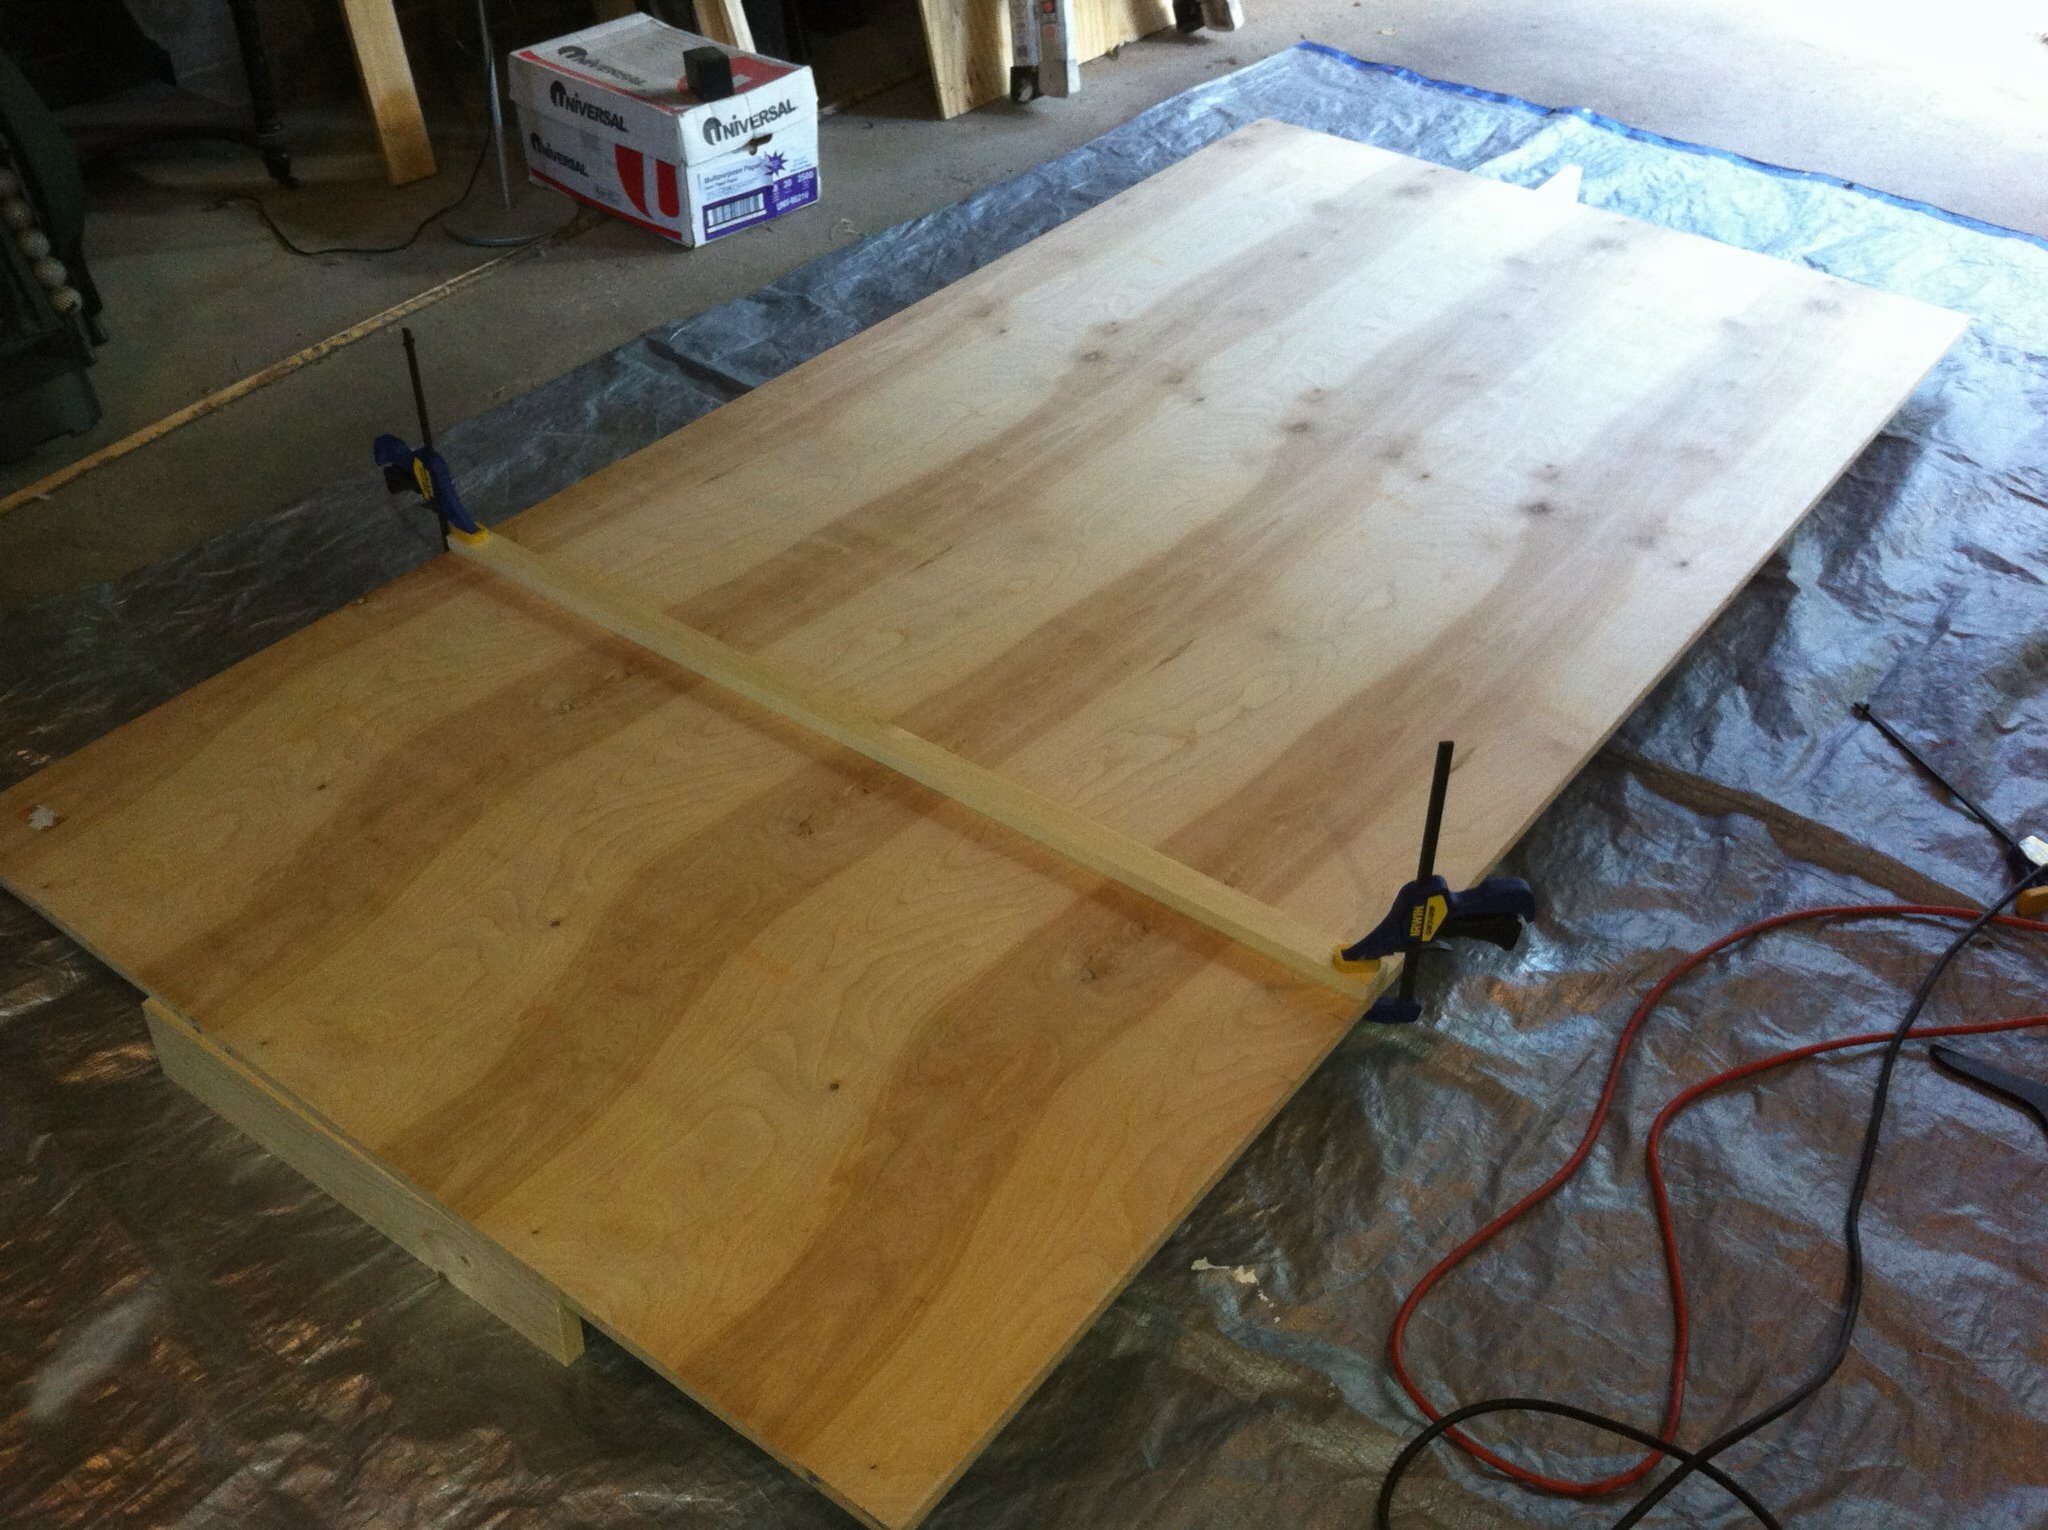
 After about 30 minutes of measuring and cutting, I am ready to begin the assembly of the pieces
Here I am putting together the top of the console. I designed the it so it could be disassembled into flatter, more transportable shapes if necessary
 Dry fit of the 3 main sections
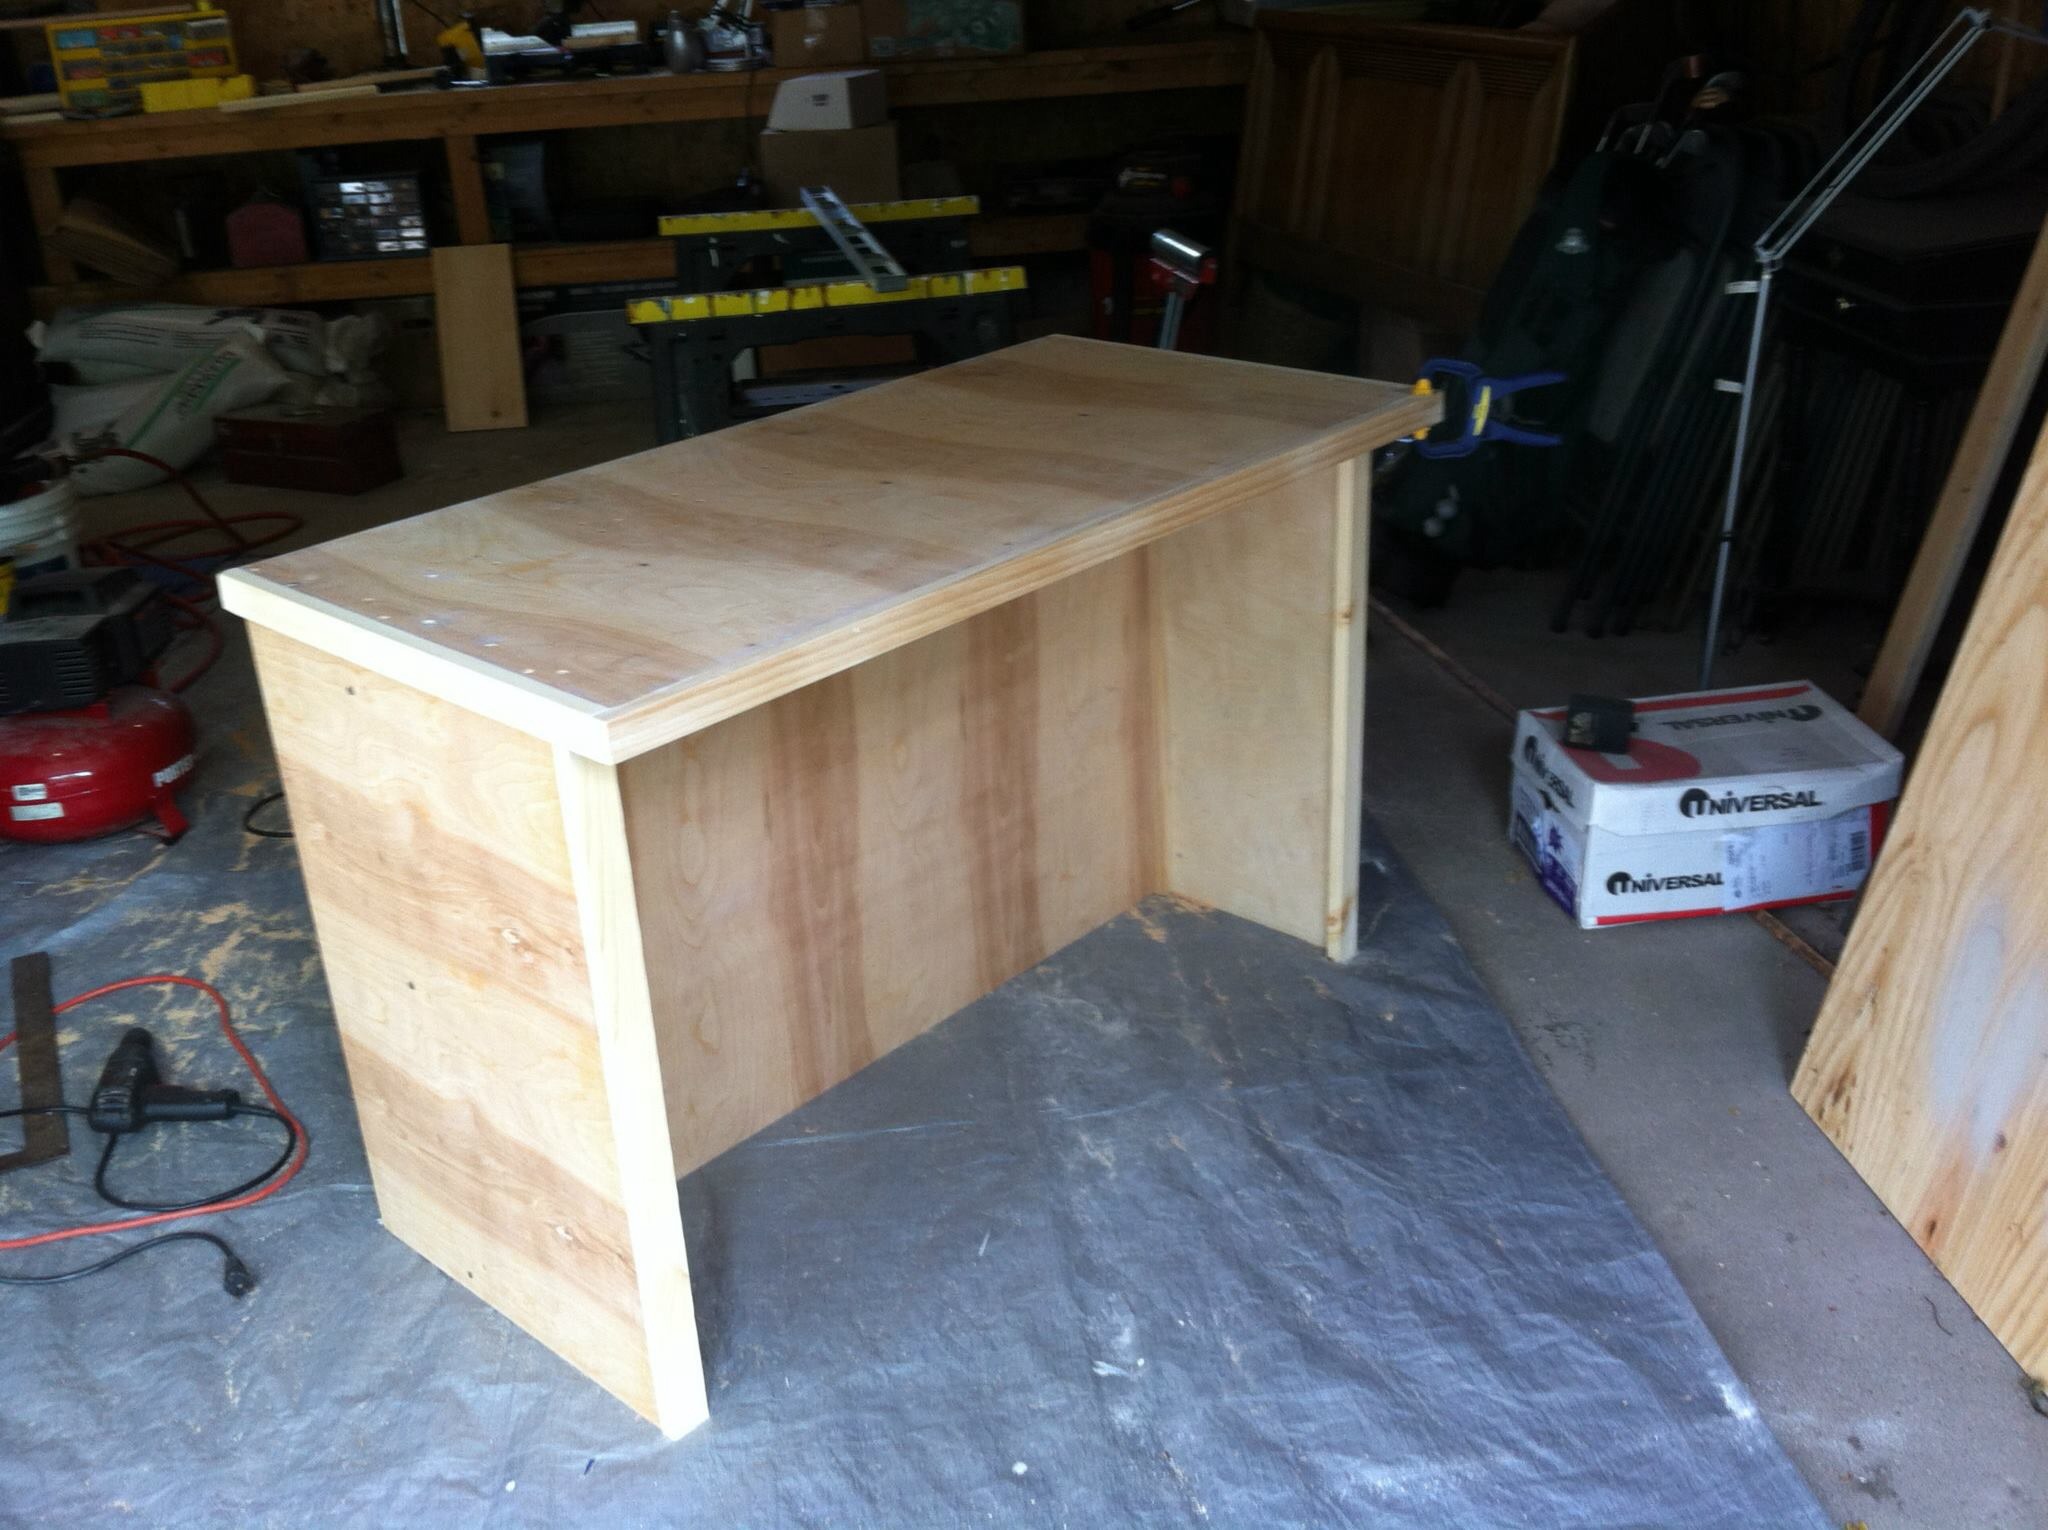 Console assembled, trim attached
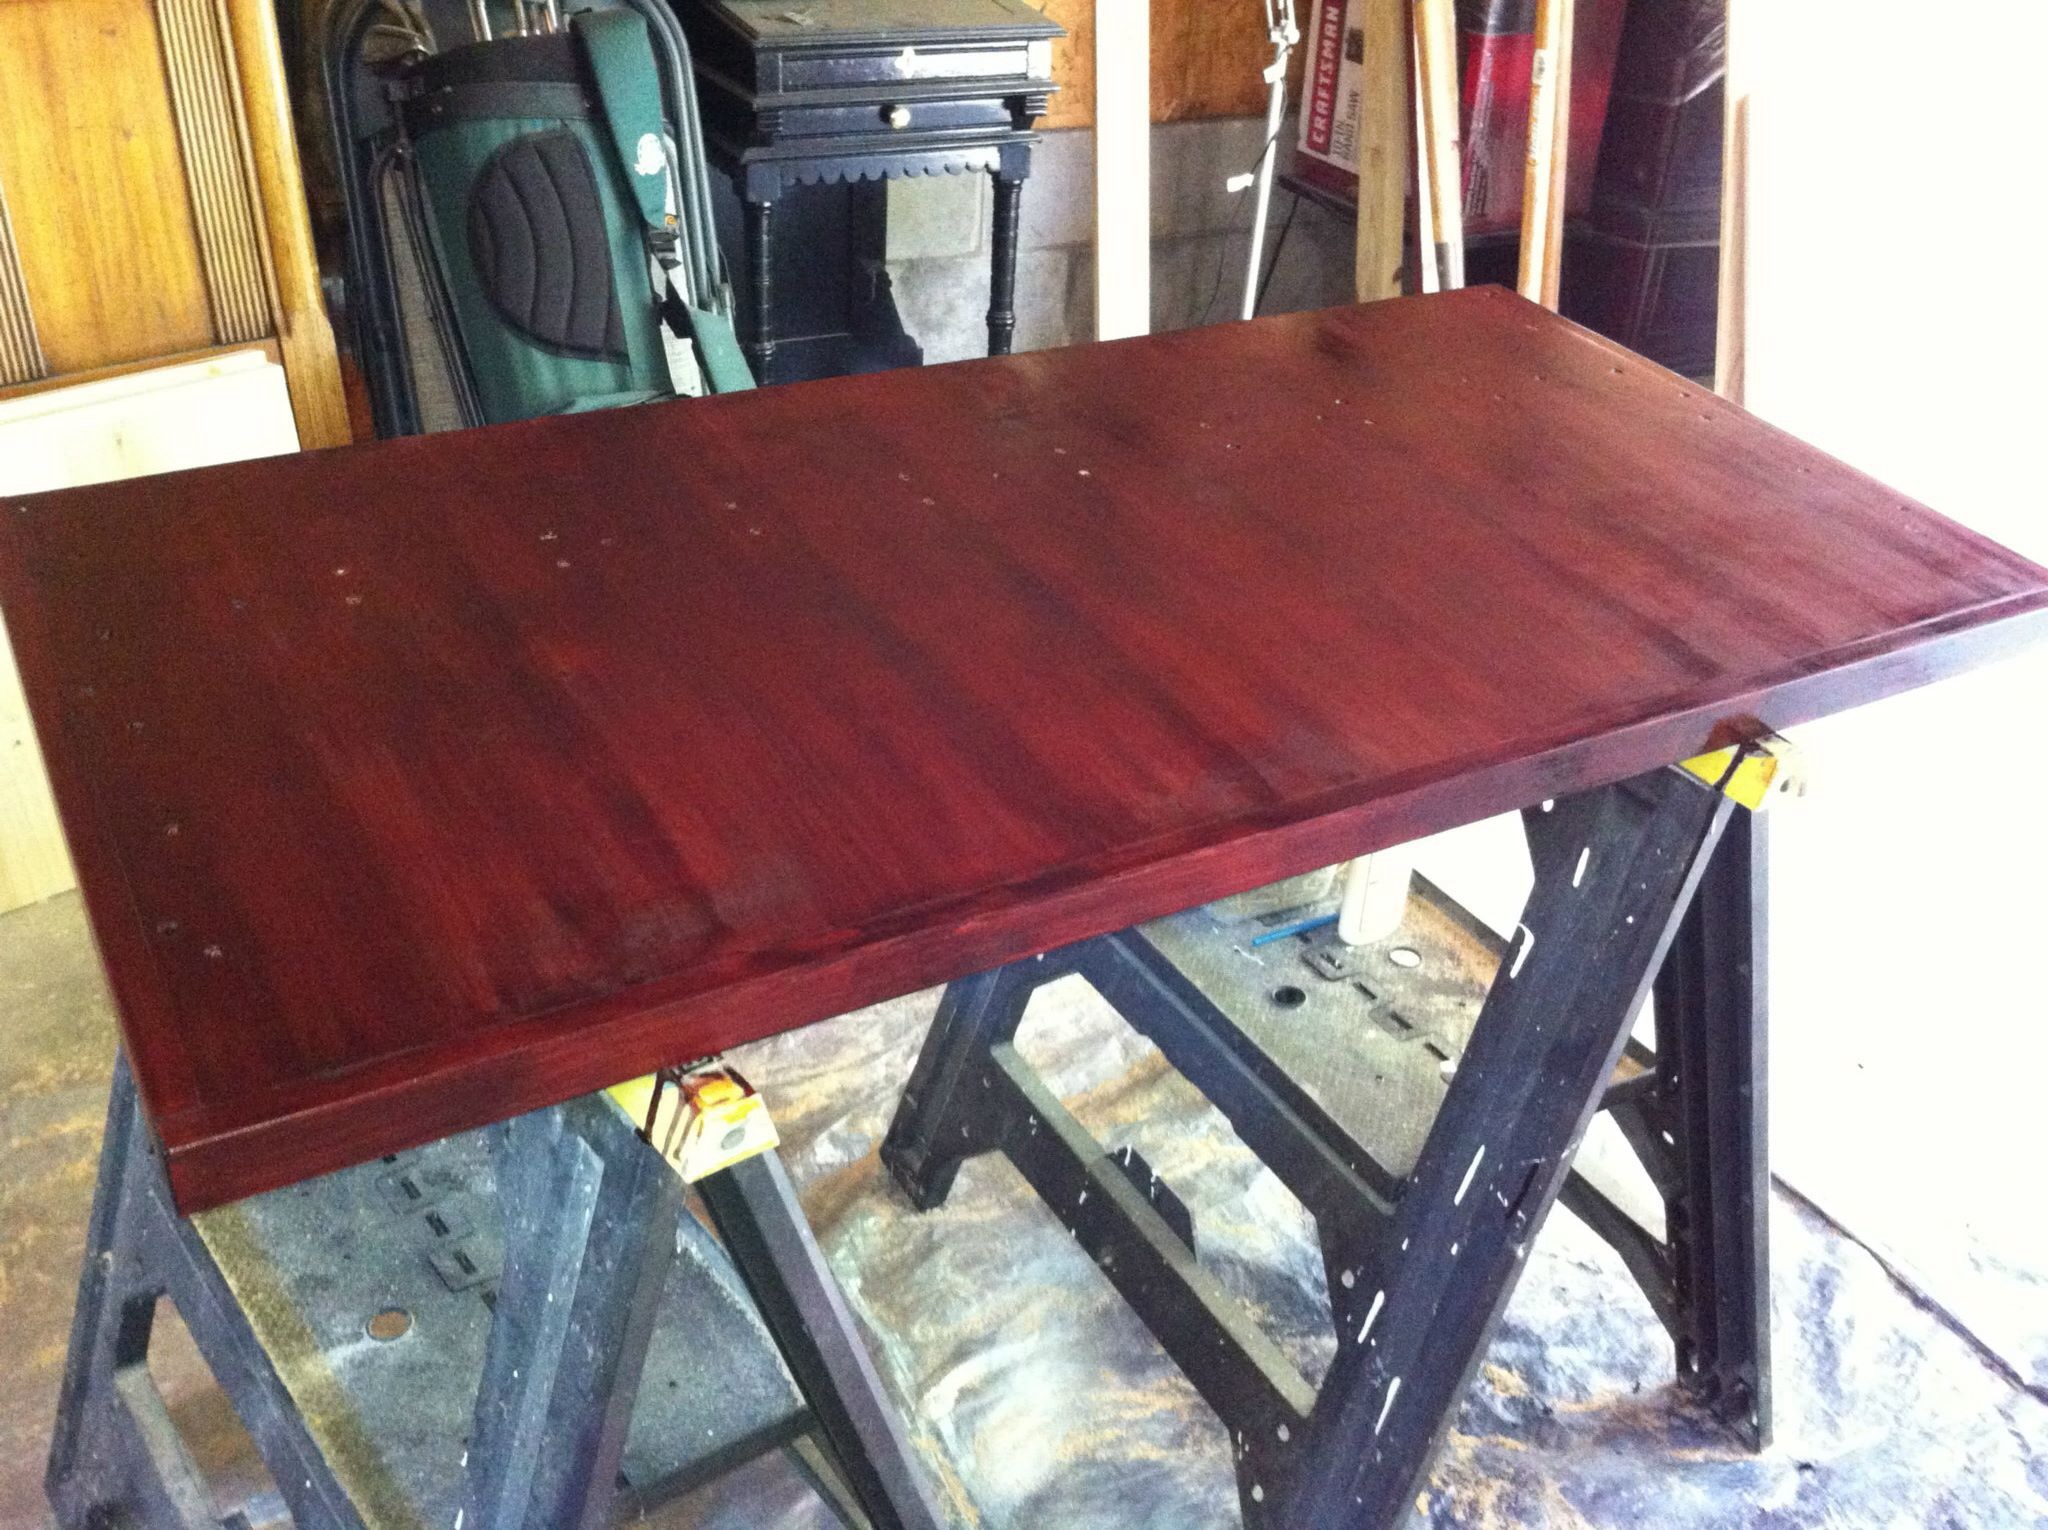 The staining begins… I chose a deep, rich, cherry stain… I’ve always been partial to this sort of shade.
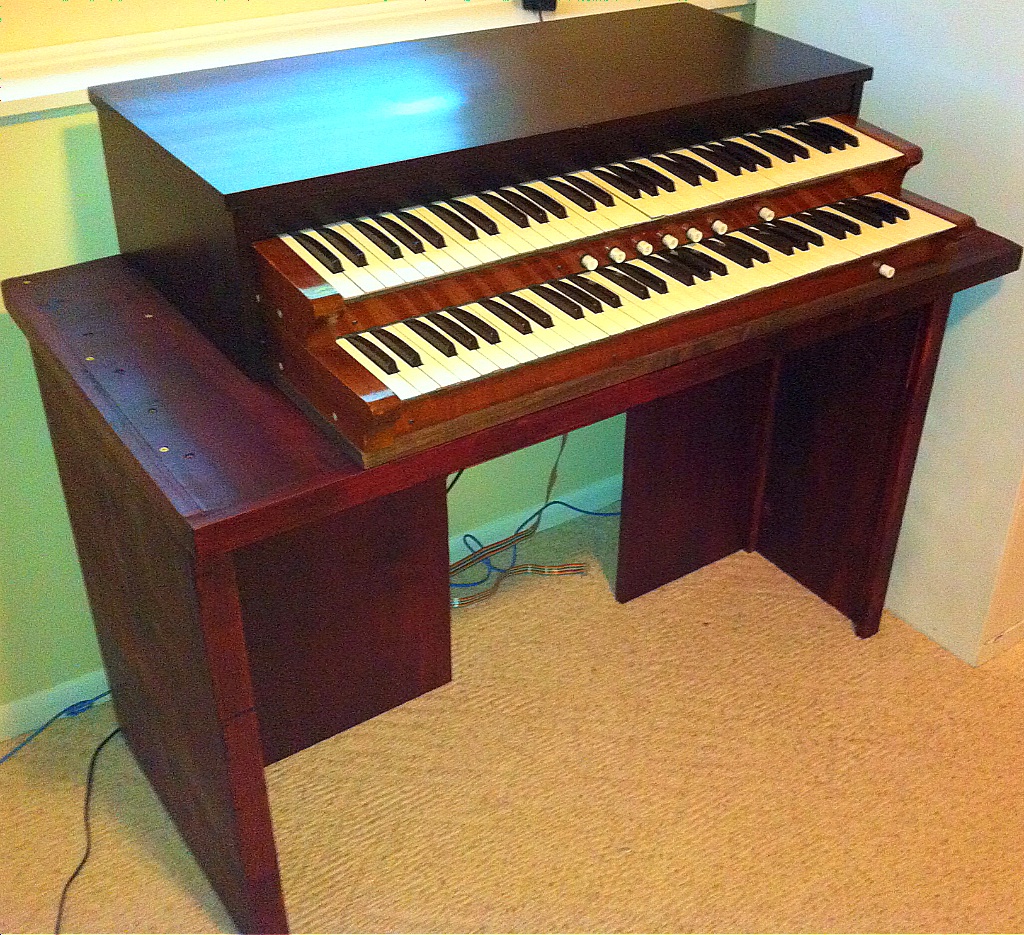 Console stained, Swell pedal opening cut, console assembled with keyboards resting on top.
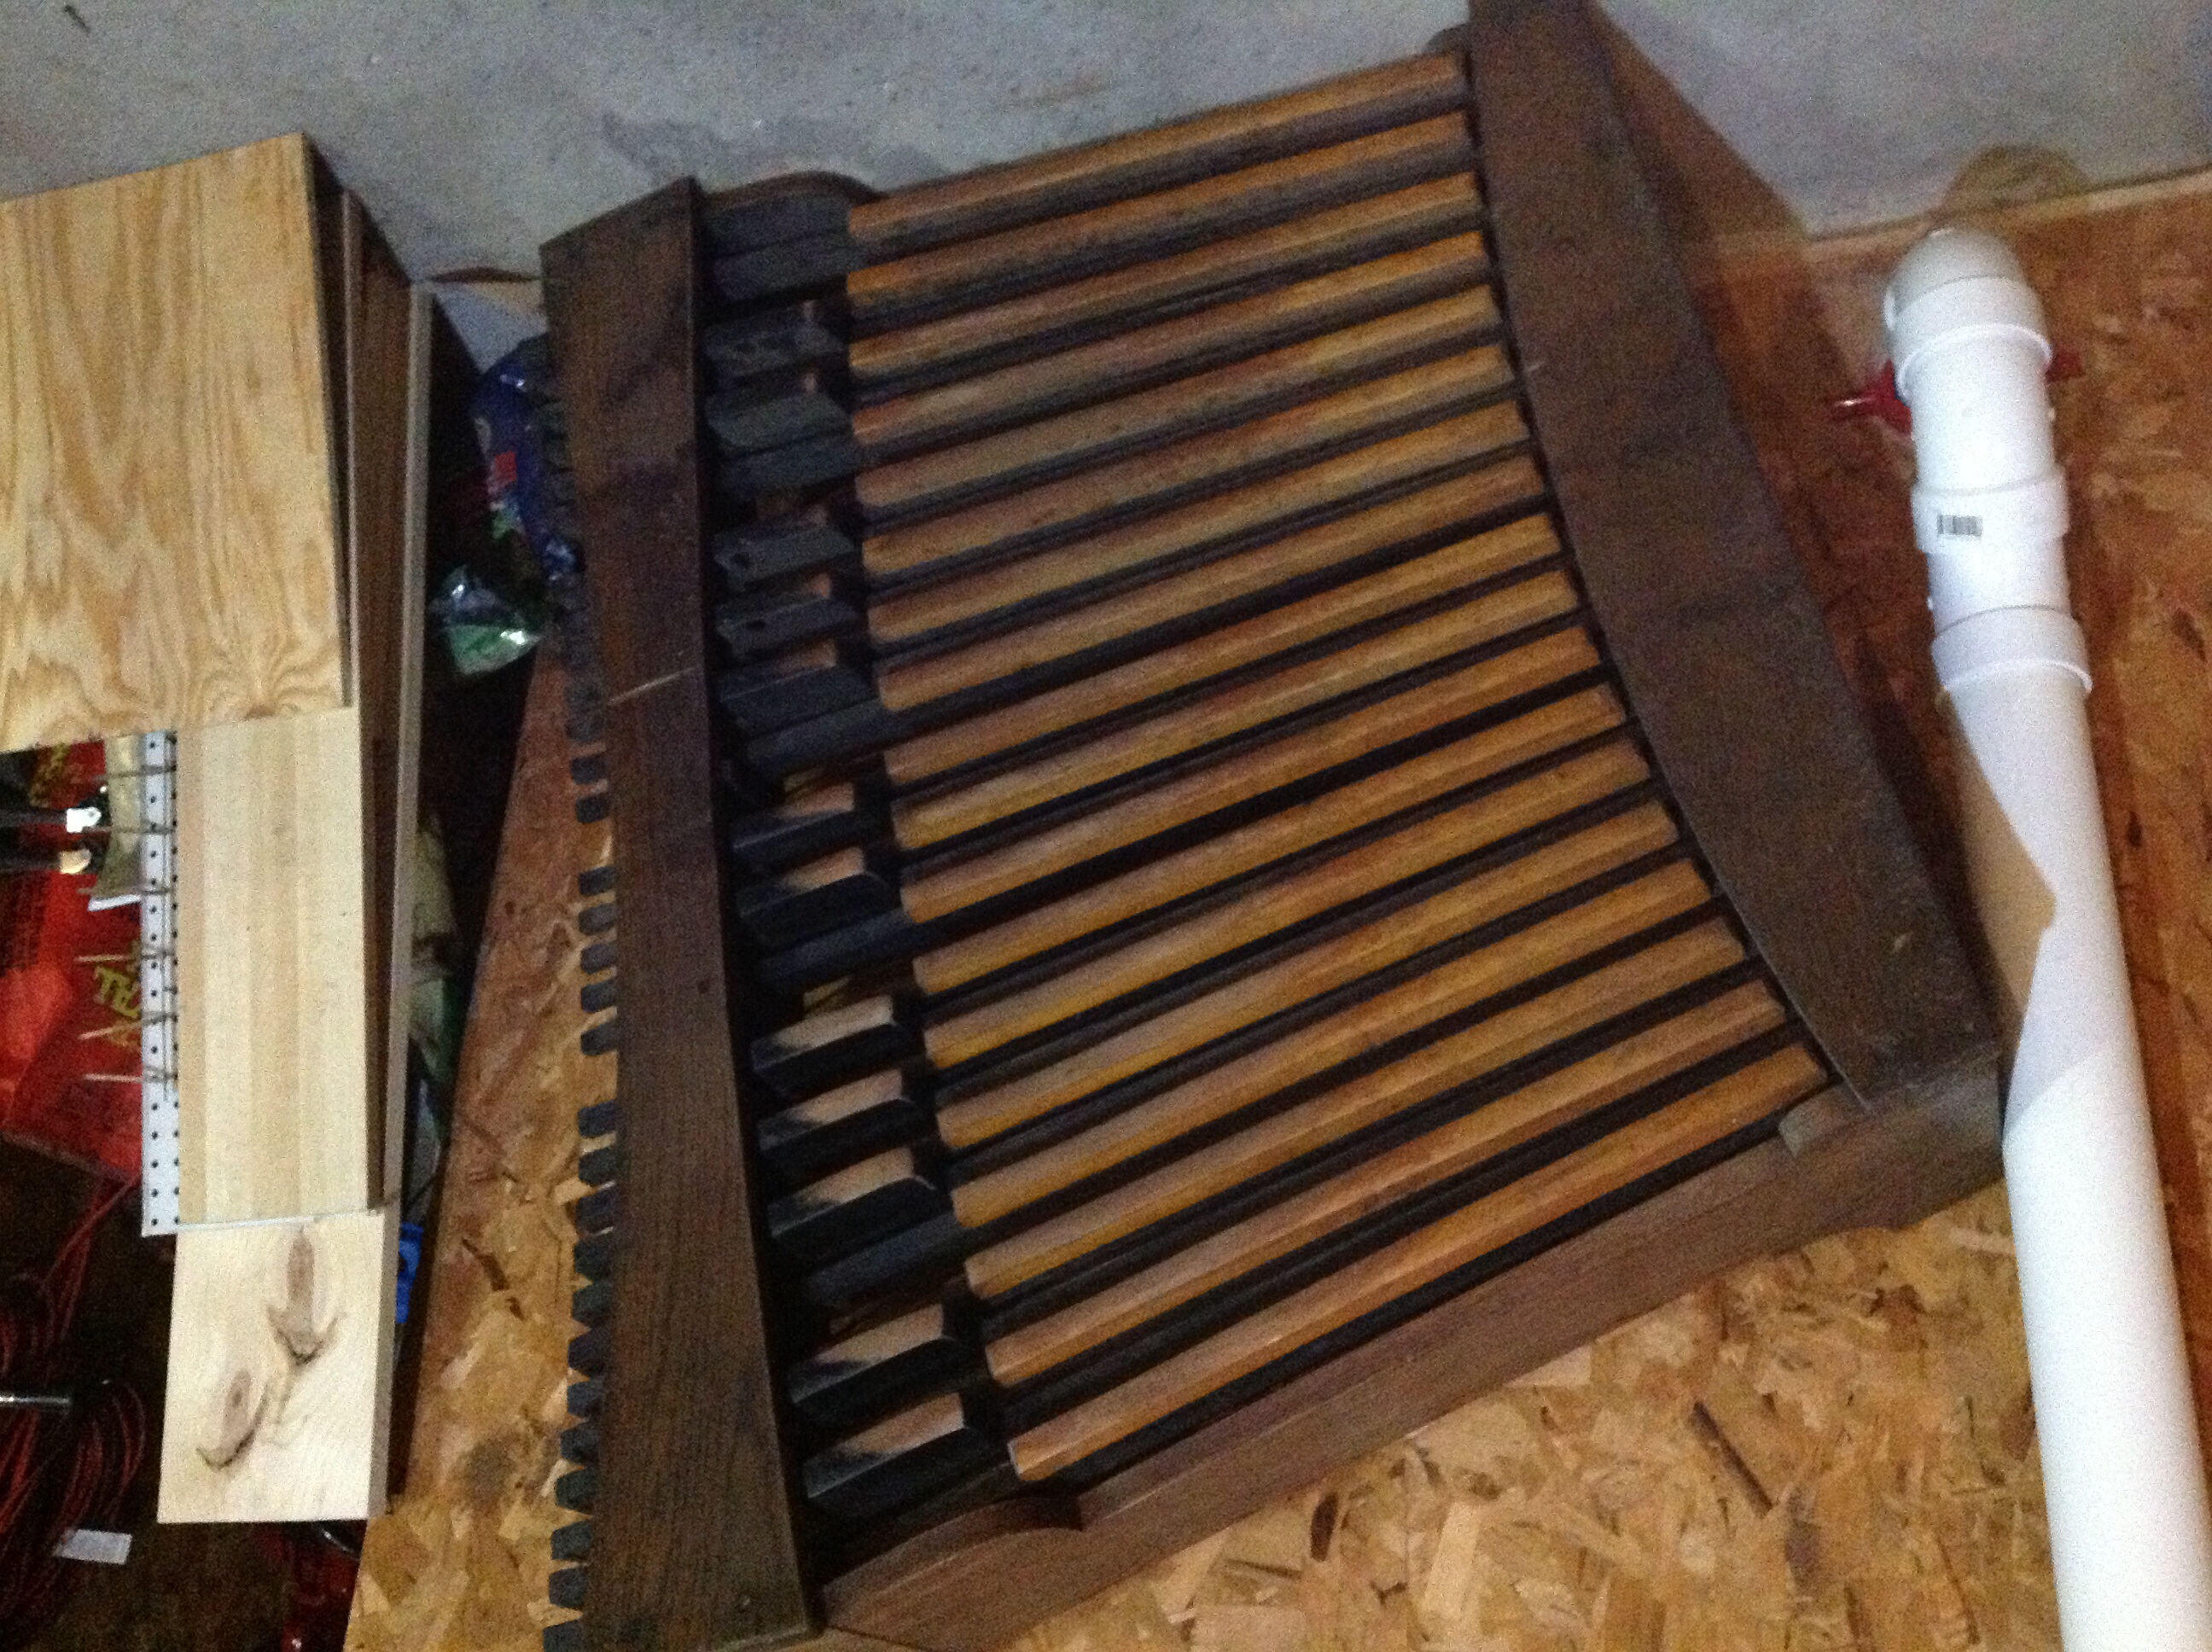
“Now it’s time for some pedals”, I thought. After some research, I found a 30-note pedalboard from my friend Rich Schneider at Schneider Pipe Organs.
After this, winter set in in Minnesota, so my projects out in the shop came to a sudden halt. For some reason, it’s no fun to work out in sub-zero weather. I tried m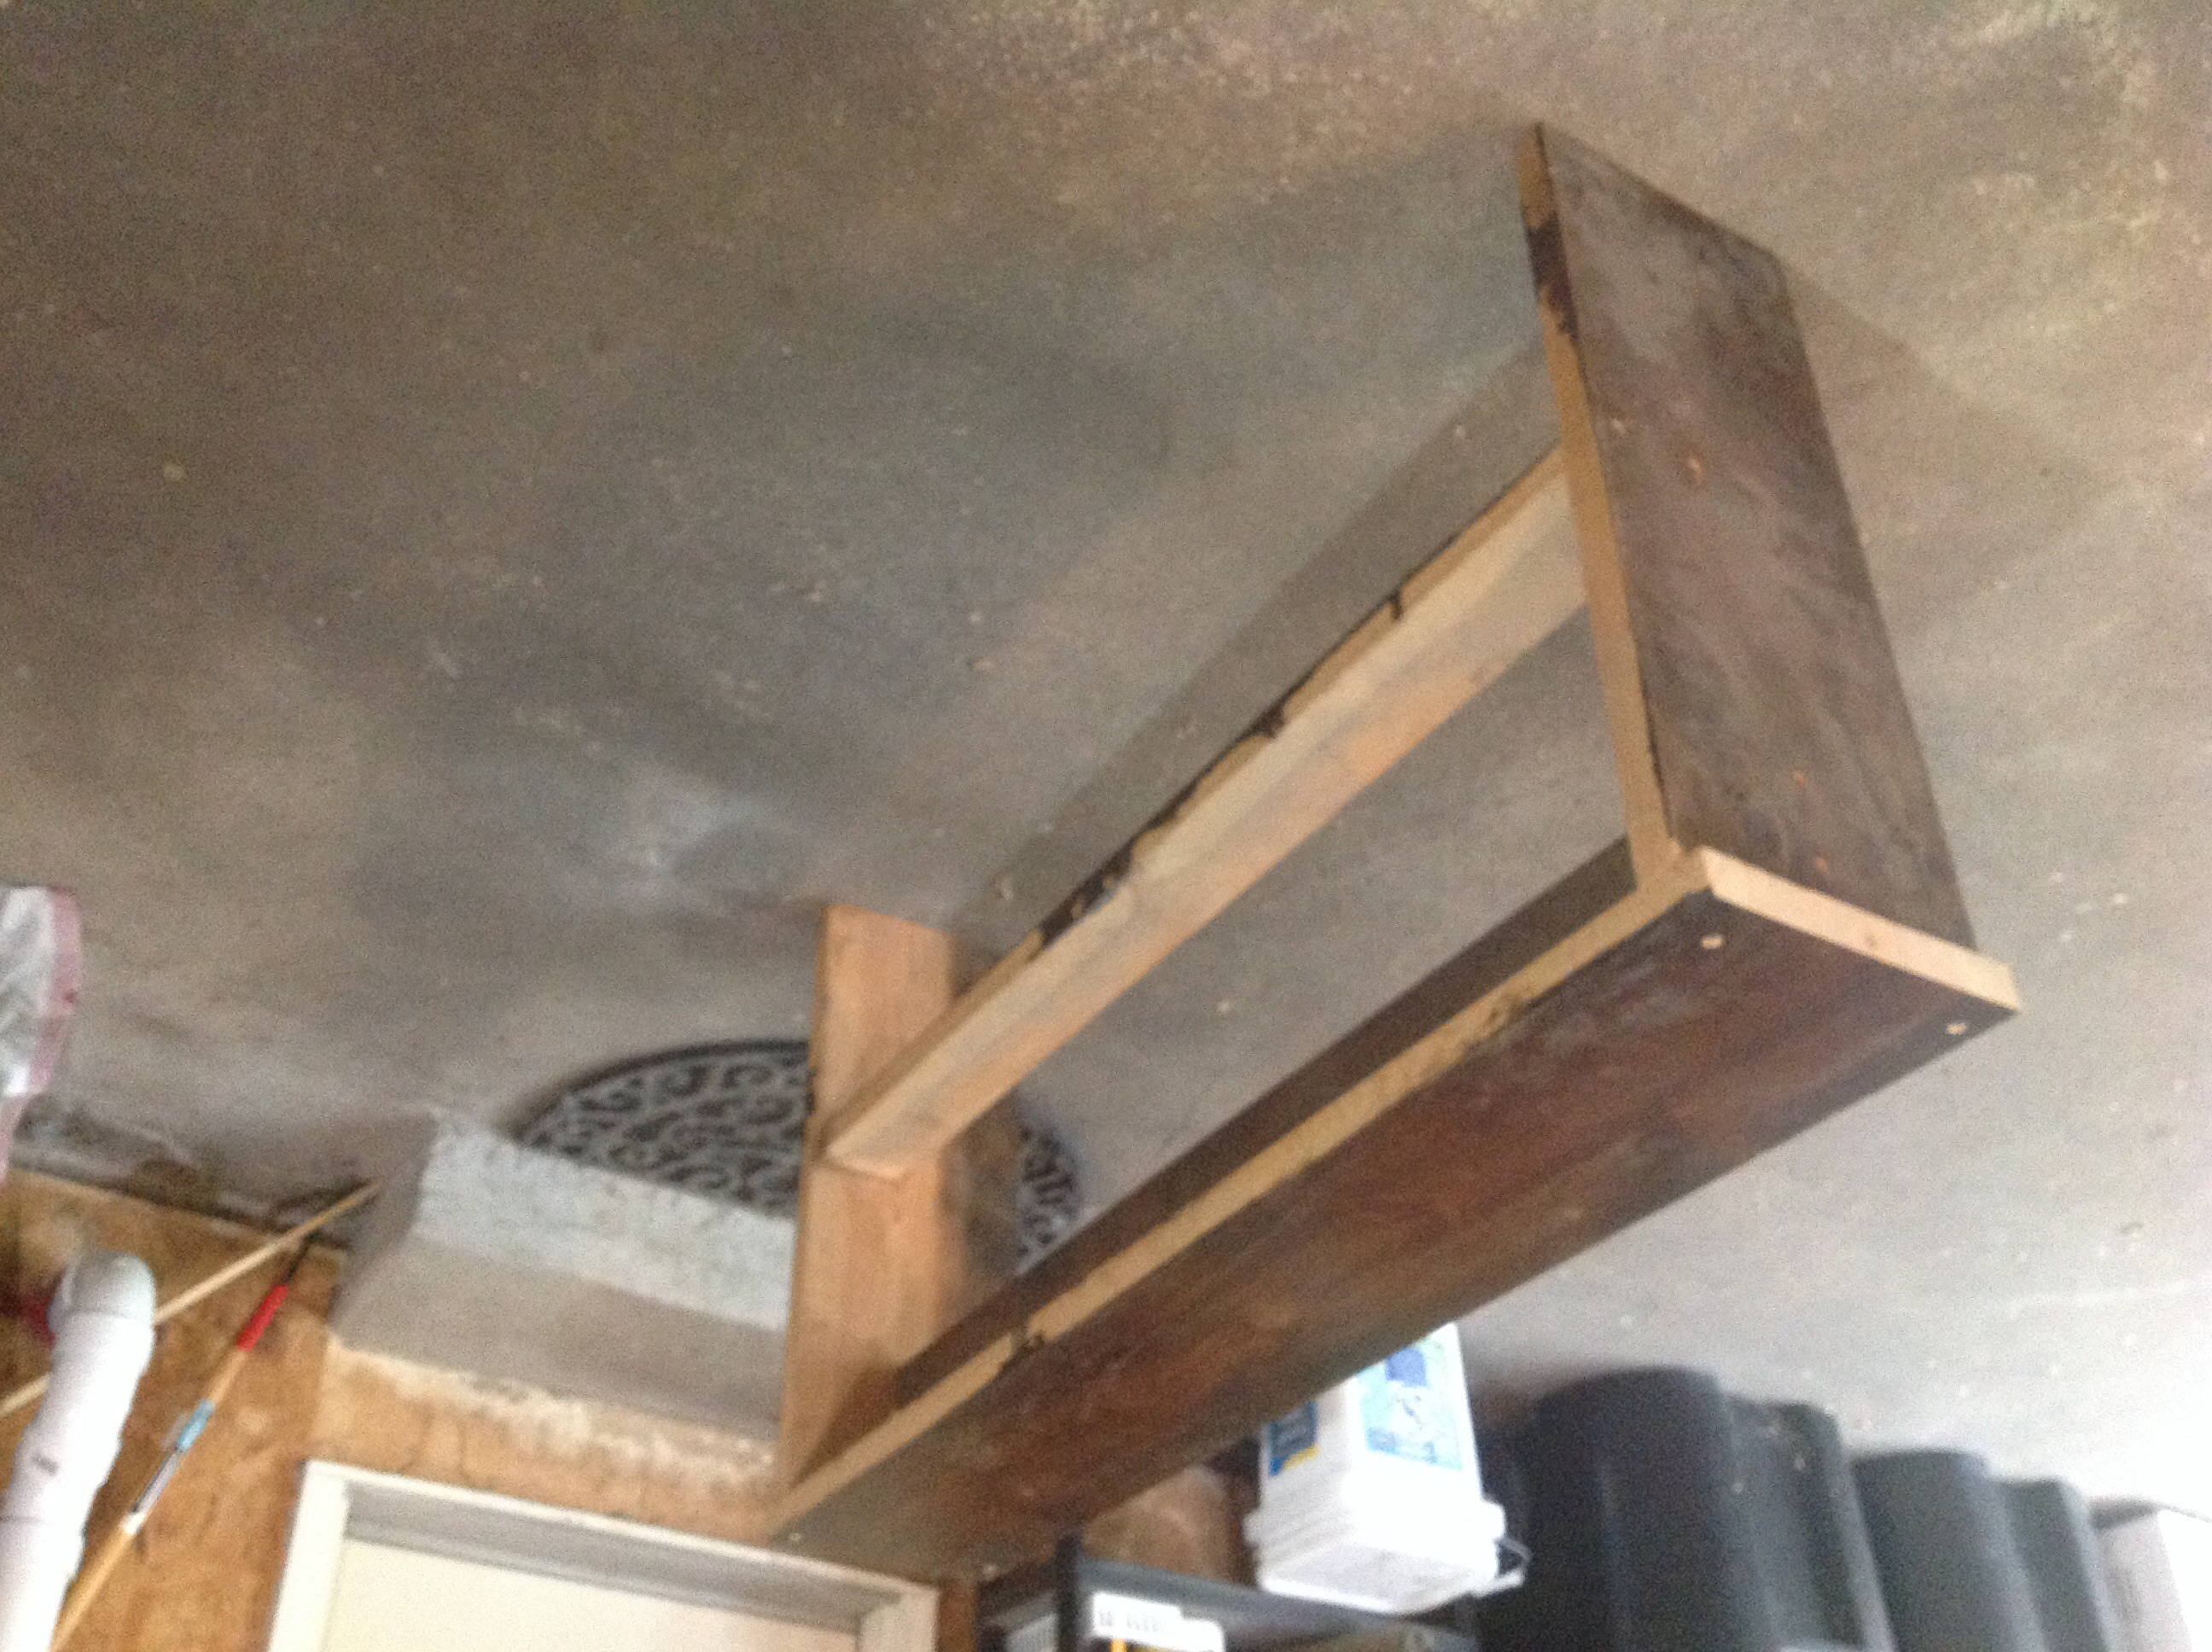 y console out a few times, but I was missing a proper bench, and a stool or tall chair just didn’t feel quite right. I looked around for a bench to buy. I was flabbergasted to find that a simple 5 pieces of wood fastened together and nicely stained could cost me from $500 to even $2000 (if I wanted storage and a lid) even higher if I wanted an adjustable bench. A little exploration in my garage attic revealed 2 sturdy large pieces of nice Pine, formerly the long rails of a bed frame, left by the former owner of our house. More measuring, a quick sketch, confirmation of the proper and necessary height, off to the table saw to rip and cut to proper dimensions. Mark, drill, countersink screw holes; assemble the parts; fill countersink with dowels….
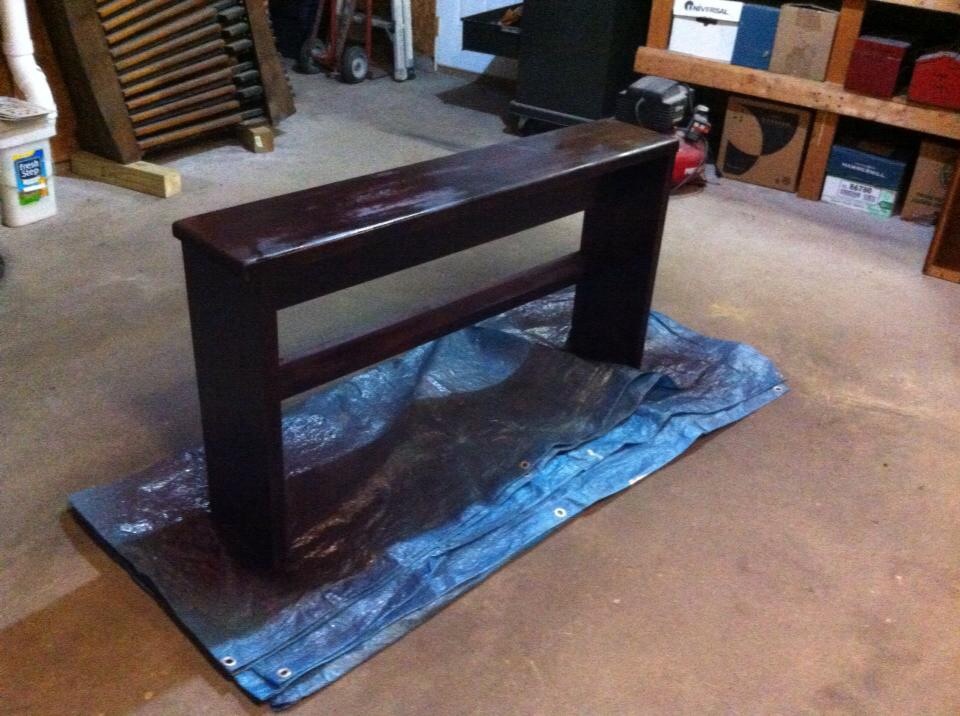
It was then I realized this project called for the purchase of a new tool… the wood was a bit dinged up, and I really didn’t want to fill and hand-sand out the imperfections. so, off to pick up a belt sander. After a couple of days work sanding and shaping, it was time to apply the stain.
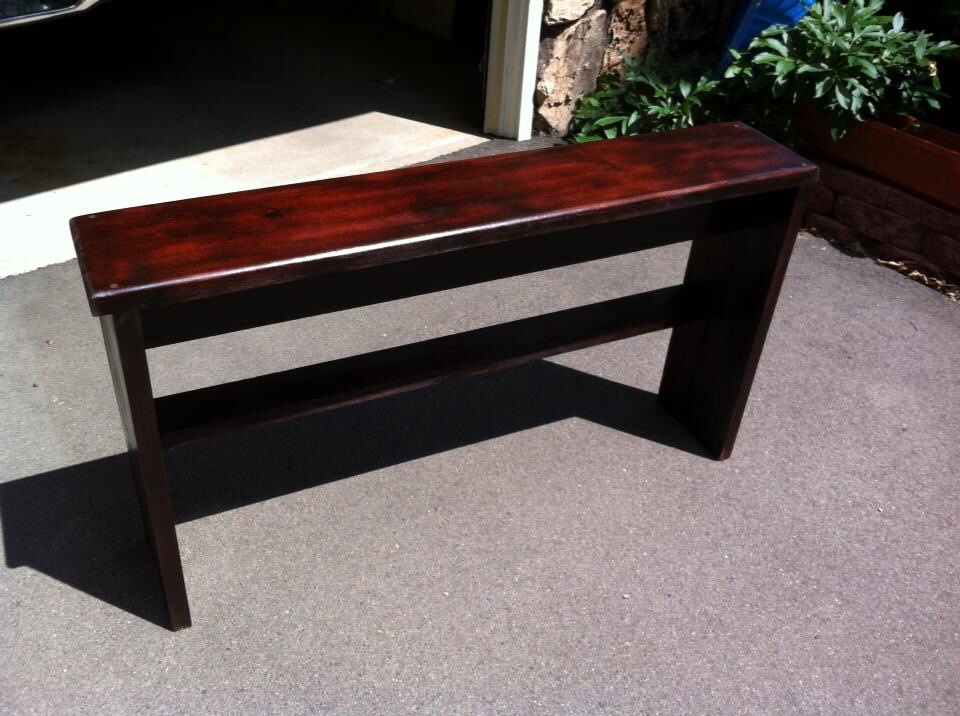 Wait a few days for the stain to dry enough, buff the seat with #000 steel wool, wipe down, apply 3 clear coats (waiting, of course for drying in between each one)
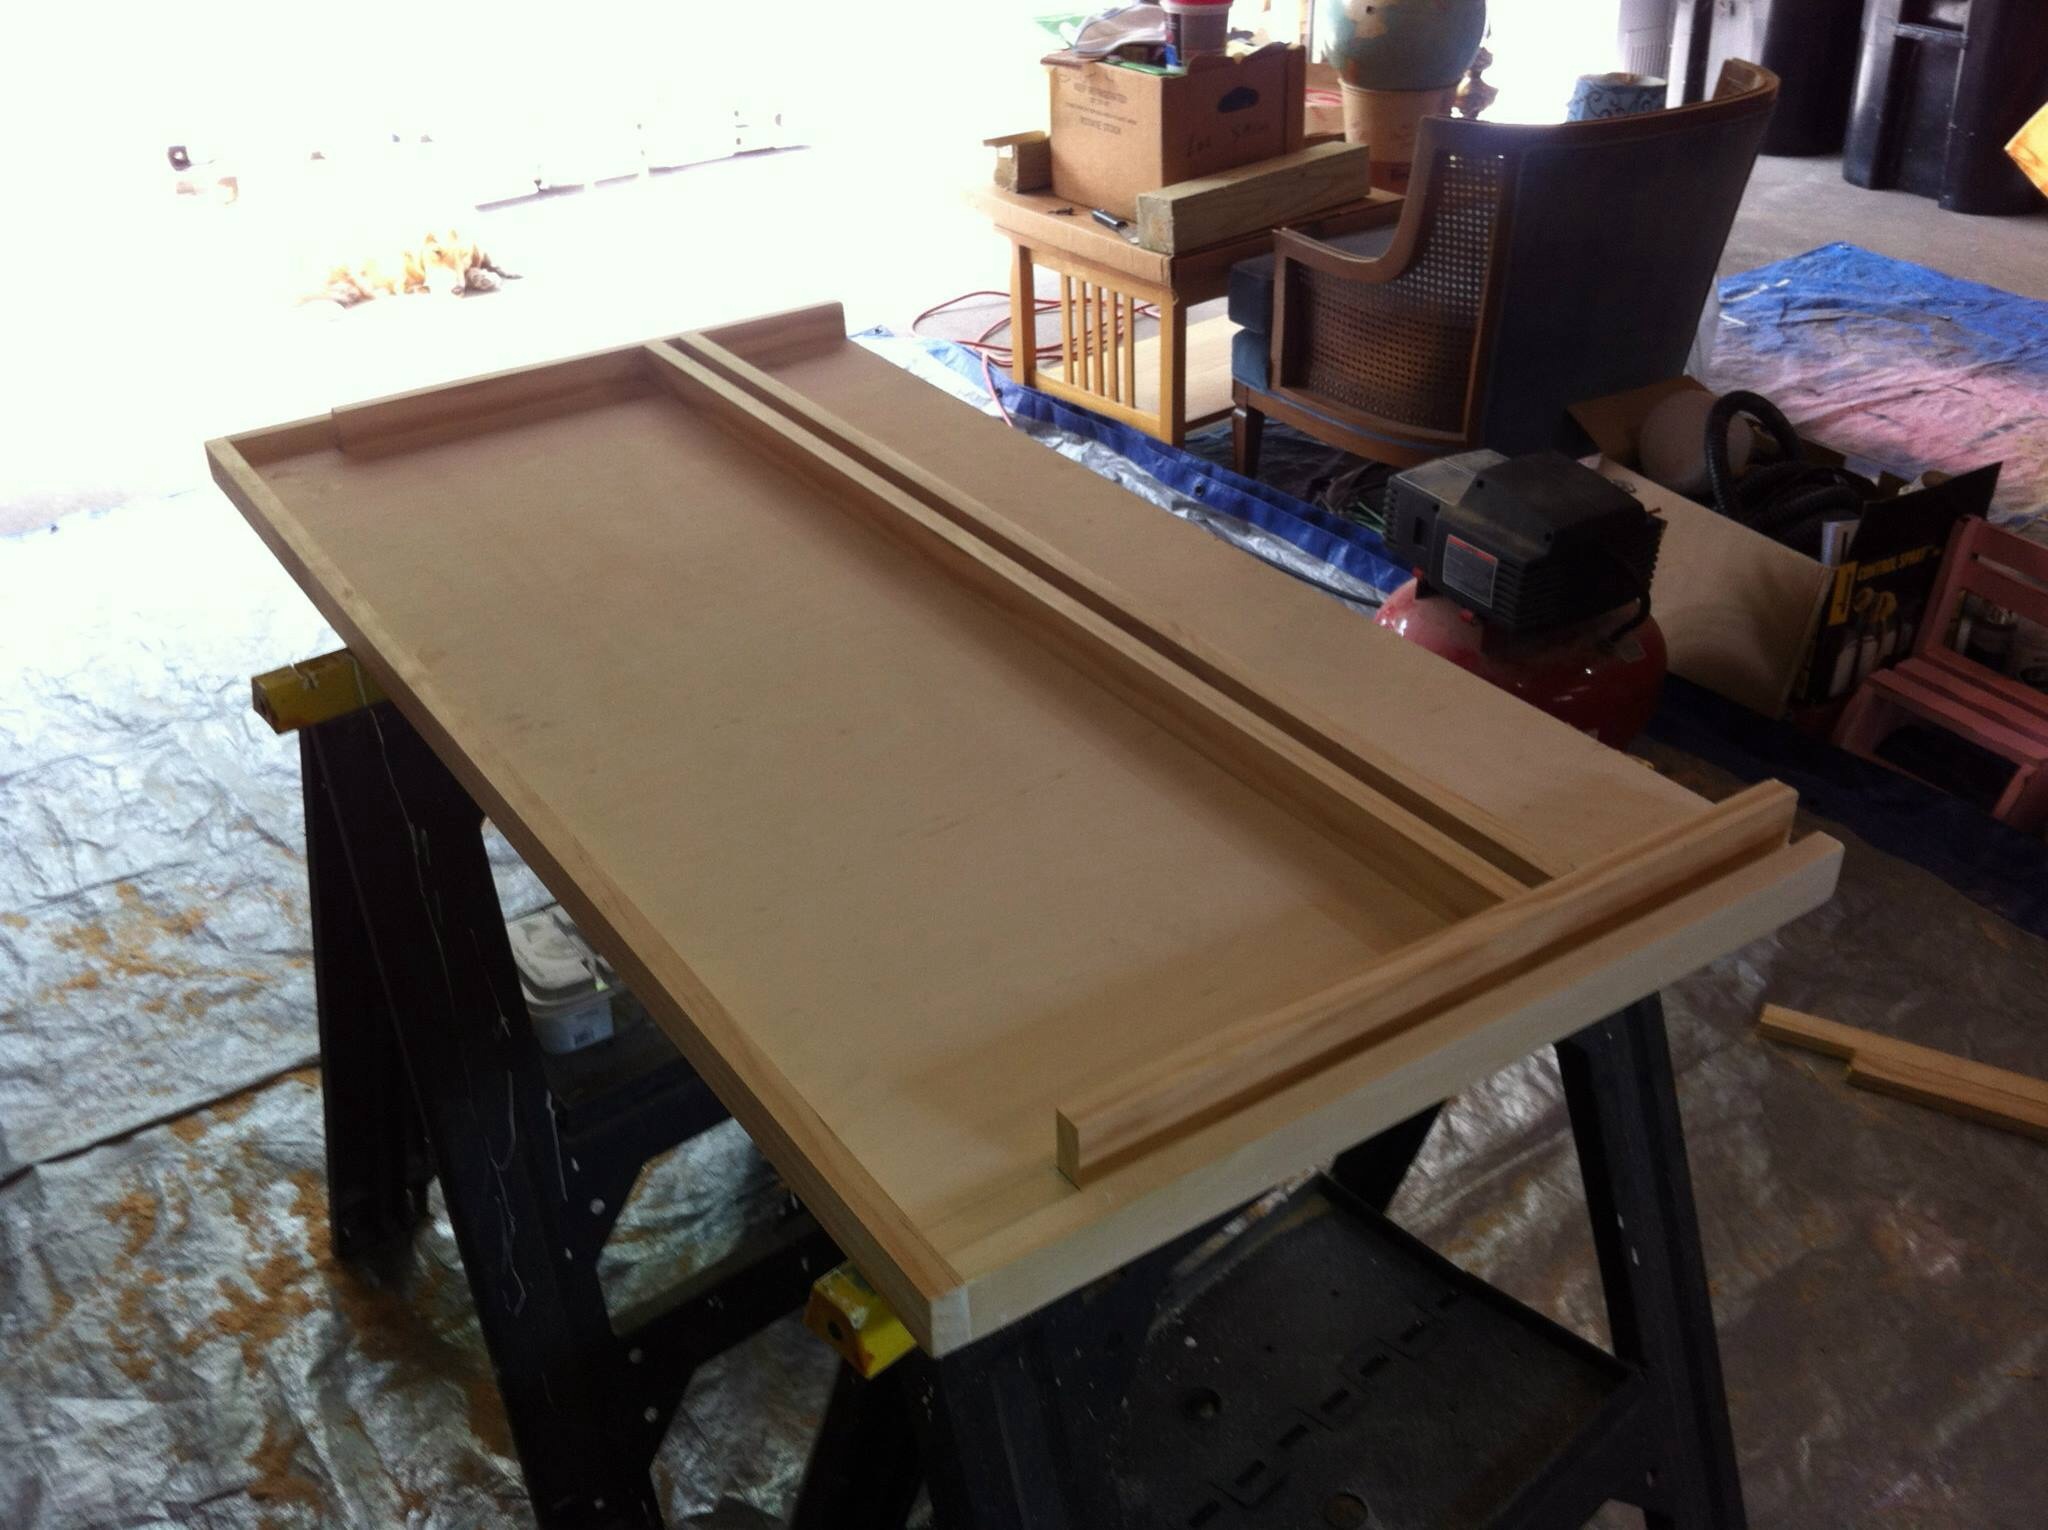
Then, of course, it was time to make a music desk. One of the things that has always bothered me about m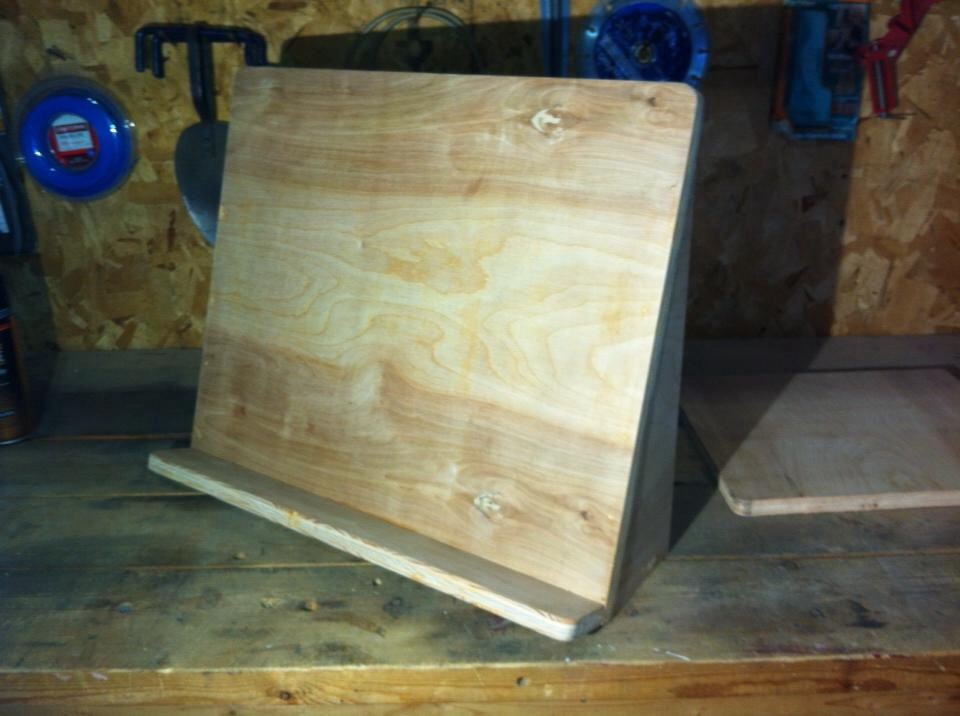 ost music desks for organs is that they are made too short. Sometime, too narrow as well, but nearly always too short. Everything is fine until you decide to play that oversize French score from Bornemann and it flops over the back of the music desk. A little sketch, some lines drawn on the wood, a trip to the band saw for the rounded corners, and here is the result – a music desk!
…and, stained and clear-coated:

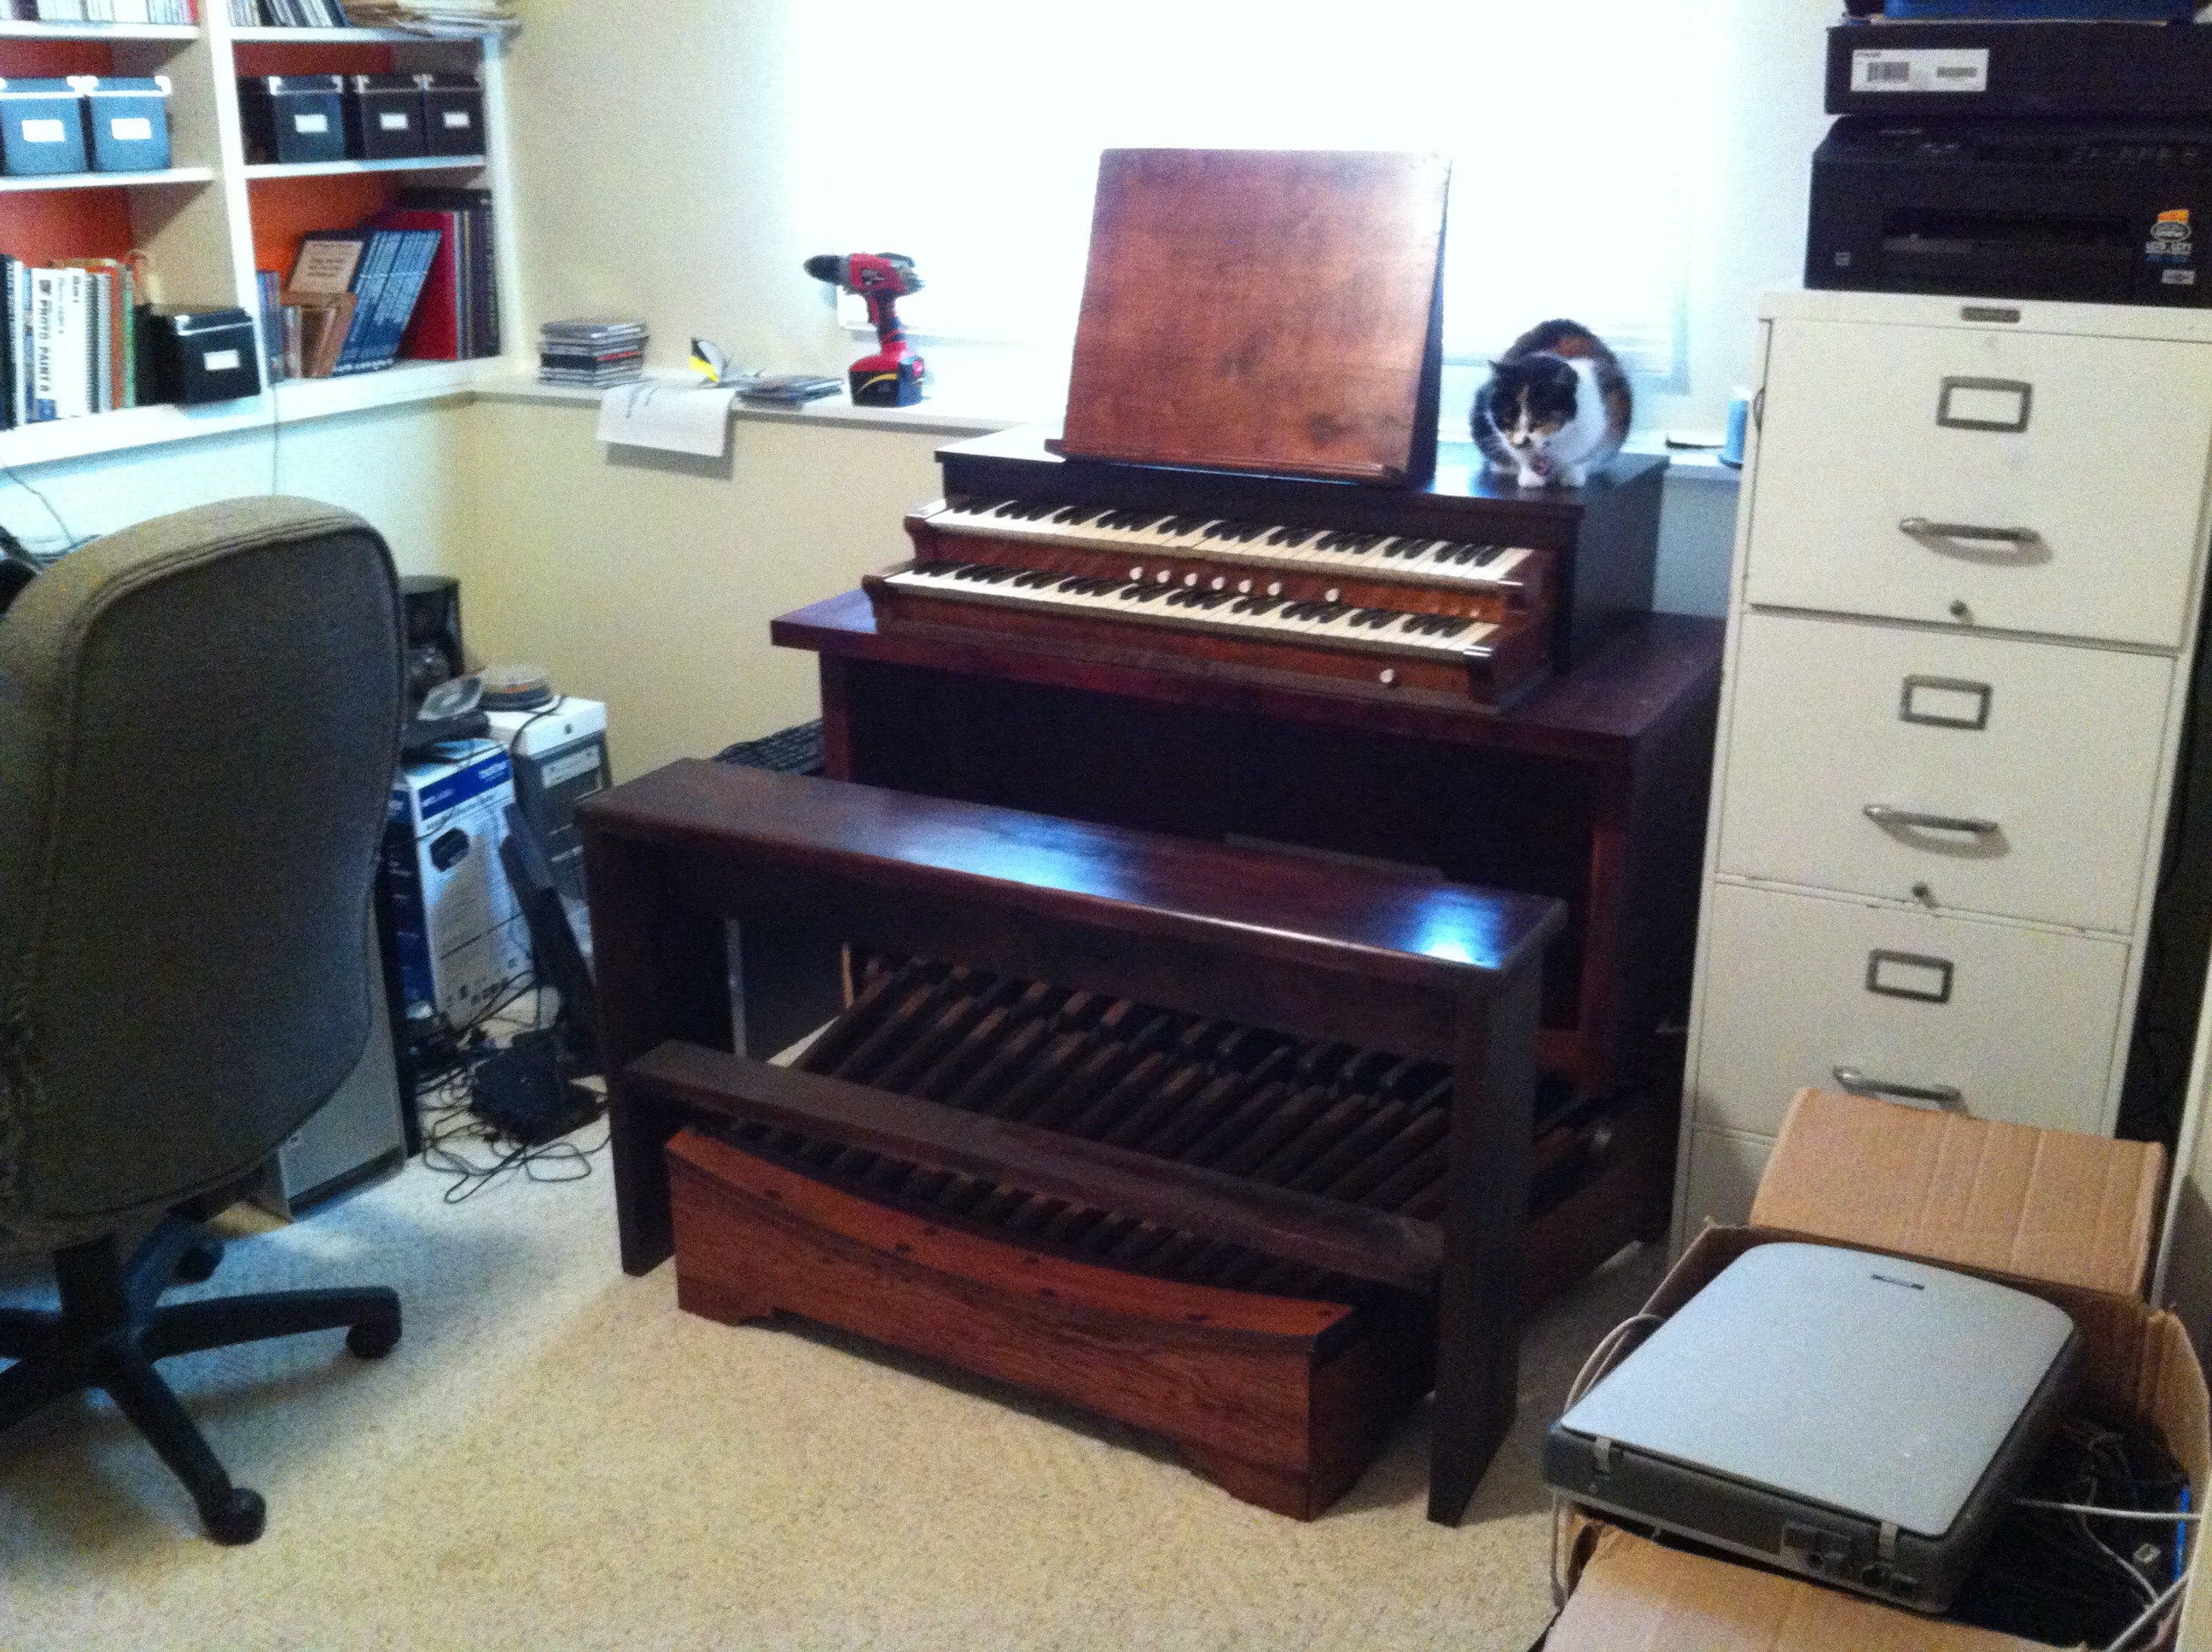
Finally, after over a year of work in my spare time, the finished components set up in my office to test for fit. This winter, I will wire up the pedals during those long cold MN evenings.
This project hasn’t gone as quickly as I would have liked, but it has all been done in my spare time in between a full-time church position, some tough time with illness in the family out-of-state and a major bathroom remodel project on our house. I’m pleased that I’ve gotten this far considering the circumstances. I’ll add to the bottom of the page as the project continues.